How to Start a Blog with Hostinger (2025 Guide for Beginners)
Starting a blog doesn’t have to be technical, expensive, or confusing. With Hostinger, you can register a domain, install WordPress, and publish your first post — often in under an hour. This beginner-friendly guide walks you through every step, from choosing the right hosting plan to optimizing your blog for Google.
Quick Start: Ready to launch now?
👉 Get Hostinger & Start Your Blog Today
Why Use Hostinger to Start Your Blog?
If you’re just getting started, Hostinger gives you a powerful mix of affordable pricing, fast LiteSpeed performance, free SSL, and an easy control panel (hPanel). Compared to more expensive hosts, Hostinger helps beginners launch quickly without overspending.
Want to compare first? Read our Hostinger vs Bluehost comparison.
Pre-Launch Checklist (Do This First)
Before you sign up, answer these quick questions:
What is your blog topic? (e.g., health, tech tools, freelancing, recipes)
Who are you writing for? (beginners, professionals, patients, etc.)
Do you need a new domain? or do you already own one?
Will you monetize? ads, affiliate links, digital products?
Write your answers down — they’ll save time during setup.
Step-by-Step – Start a Blog with Hostinger
Step 1 – Choose the Right Hostinger Plan
For most new bloggers, the Premium Shared Hosting plan offers the best value: multiple websites, free domain, email, and more resources than the Single plan. If budget is very tight, the Single Shared plan is fine to start.
🔁 Plans and pricing change. Check current deals before choosing.
👉 See Hostinger Plans
Step 2 – Register or Connect Your Domain
During checkout, you can register a new domain (free on many plans) or use an existing domain you already own. Make it short, brandable, and easy to type.
Example: digitaltoolzone.com (brand) vs best-hosting-review-info.net (hard to remember)

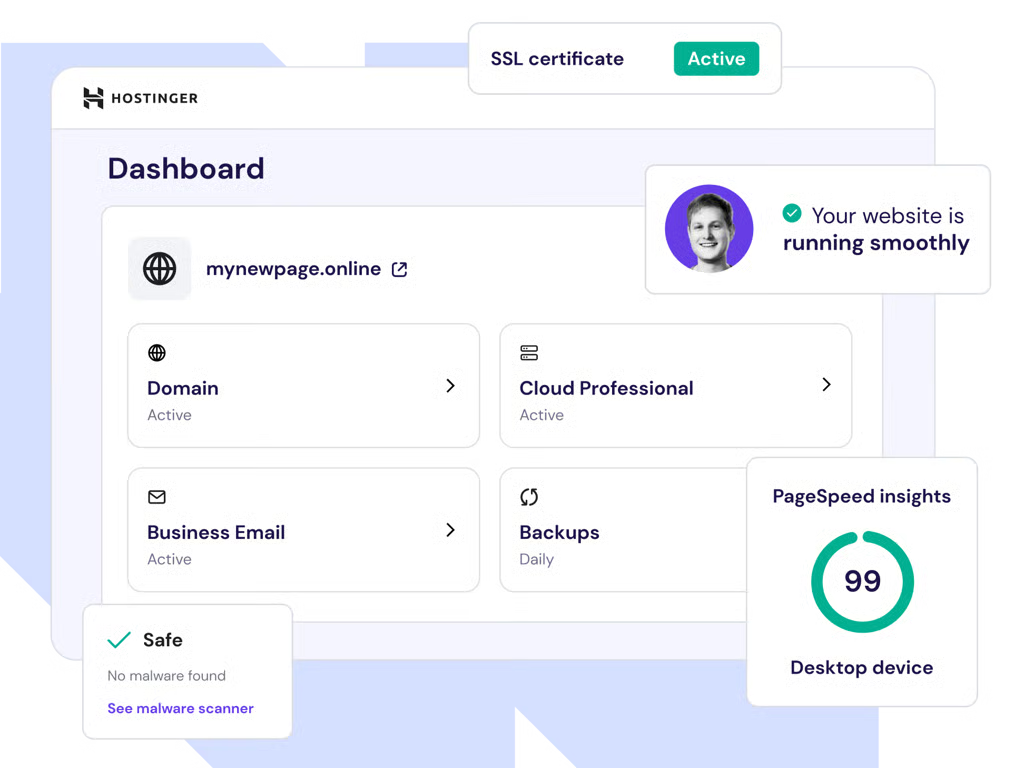
Step 3 – Complete Purchase & Access hPanel After checkout:
After checkout:
Log into your Hostinger account.
Open hPanel (Hostinger’s dashboard).
You’ll see setup prompts for your domain, hosting, and WordPress install.
Step 4 – Install WordPress (1-Click)
Hostinger makes it easy:
In hPanel, go to Website > Auto Installer.
Select WordPress.
Enter site name, admin email, username, password.
Choose your domain and install.
✅ In a few minutes, your WordPress site is live.
Step 5 – Secure & Configure Basics
After login (yourdomain.com/wp-admin):
Go to Settings > General
Set Site Title & Tagline (include keywords if natural).
Settings > Permalinks
Choose Post Name for clean URLs (
/your-post-title/).
Activate SSL
In Hostinger hPanel, make sure HTTPS is enabled.
Step 6 – Choose a Fast, Lightweight Theme
Good free themes for beginners:
Astra
GeneratePress
Kadence
Blocksy
Install via: Appearance > Themes > Add New > Search > Install > Activate.
Step 7 – Install Essential Plugins
Recommended basics:
Purpose |
Plugin Suggestion |
Notes |
|---|---|---|
SEO
|
Rank Math or Yoast
|
Add meta tags, XML sitemaps
|
Speed
|
LiteSpeed Cache
|
Works great with Hostinger servers
|
Security
|
Wordfence (basic)Wordfence (basic)
|
Free firewall & login alerts
|
Backups
|
UpdraftPlus
|
Offsite backups (connect Google Drive)
|
Spam Control
|
Akismet or CleanTalk
|
Stop spam comments
|
Step 8 – Create Core Pages
Before you publish a blog post, create these important pages:
Home (what your site is about)
About (build trust)
Contact (form or email)
Privacy Policy (required for ads/analytics)
Blog (dynamic post list)
Step 9 – Publish Your First Blog Post
Go to Posts > Add New
Enter a keyword-friendly title (e.g., “Why I Chose Hostinger for My First Blog”)
Use H2/H3 headings to structure content
Add an image with alt text (include a keyword)
Add internal links to other posts (as they become available)
Need topic ideas? See our Beginner Blogging Topics for 2025.
Step 10 – Add Analytics & Search Console
Why? To see who visits your site and what they search for.
Create a free Google Analytics property
Verify your domain in Google Search Console
Submit your sitemap (SEO plugin helps generate it)
This is critical for tracking growth and applying for affiliate programs later.
SEO Quick Wins for New Hostinger Blogs
Do these early to rank faster:
Use your main keyword in the first 100 words.
Write clear meta titles & descriptions for each post.
Add internal links (link from one blog to another).
Compress images before uploading (faster speed = better SEO).
Update older posts every 2–3 months (freshness signal).
Common Questions (FAQ)
Is Hostinger good for beginners?
Can I start a blog on Hostinger without coding?
Which Hostinger plan is best for new bloggers?
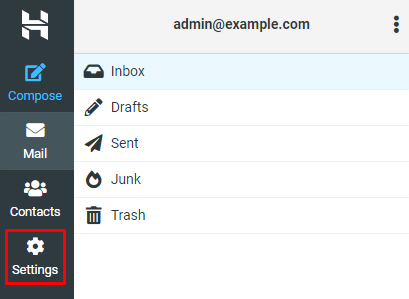
Does Hostinger include email?
Final Conclusion – Start Your Blog Today
If you want to launch a blog in 2025 without spending too much money or getting stuck in technical work, Hostinger is one of the best places to start. It’s fast, affordable, beginner-friendly, and WordPress-ready.
🎯 Ready to start your blog?
Launch with Hostinger today and get hosting, domain, SSL, and WordPress setup — all in one place.
👉 Start Your Blog with Hostinger (Special Pricing)